Prime AP Migration Tool - Part 3
 Tuesday, April 19, 2016 at 2:12PM
 | In the third part of our series of articles on how to seamlessly upgrade your Cisco WLC infrastructure, we'll examine the important thing to think about - the caveats, hints and tips for a smooth upgrade. If you've not see the other two articles in this series, you can catch up with the two links below:
|
Caveats, Hints and Tips
A code upgrade is a MAJOR change in any wireless network. The following notes have been collated on the back of real world experience upgrading large sites with thousands of APs. You must work VERY cautiously on a large or critical site upgrade.
| 1. Firstly, and most importantly – save and BACK UP the config on your WLC prior to starting any major work. |
||
| 2. Take care if you have a Primary and Secondary WLC already allocated for your APs – the IPTel script will overwrite this. Run some tests prior to undertaking any changes to confirm if the script works as you expect. The tool is offered without warranty - TEST IT IN THE LAB FIRST! |
||
| 3. As well as the possibility of a failure during the upgrade requiring a rollback, you might hit new bugs. Make sure you have a well thought out change control process and ideally test a subset area on the new code before rolling out across the site. |
||
| 4. Lab test your upgrade and new code. If you have any sort of unusual end devcices, they may not operate or roam correctly on the new code. Do some lab testing. |
||
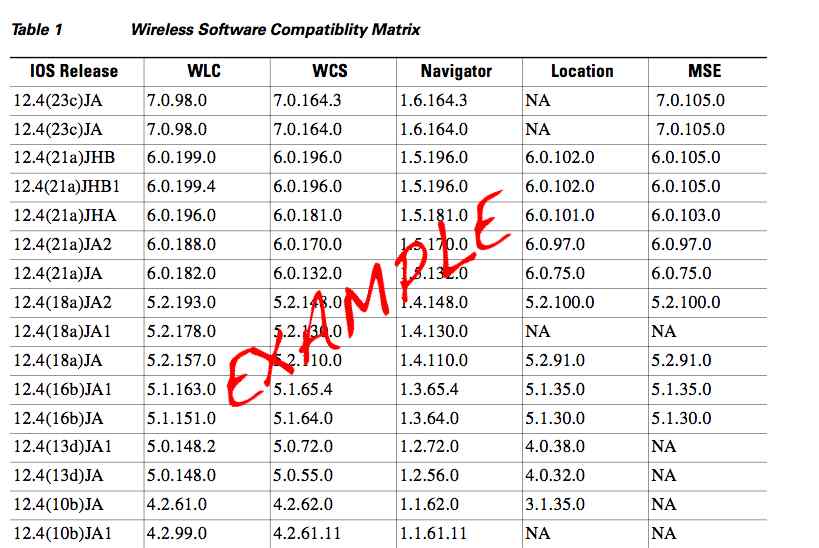
| 5. Read the release notes. Yes, it is boring, but you'll at least know if any of the bugs might be an issue for you. |
||
| 6. Make sure your smartness support contract is up to date. Just done an upgrade and its failed? No smartnet and you're on your own - make sure its up to date first! |
||
| 7. We have come across many new Cisco bugs on the larger sites we work on – treat a code upgrade with great care and be sure to thoroughly test all services on the new code once the upgrade is complete. |
||
| 8. Only do a batch of APs at a time – or you will take all APs offline at once, which defeats the purpose. |
||
| 9. Run the script only on one AP first as a test – confirm it moves the AP between the desired WLCs correctly |
||
| 10. Test all your services on the AP once its on your spare WLC – the spare WLC probably doesn’t get used much, so confirm its working as expected before moving a lot of APs across! |
||
| 11. There’s a major caveat to note with the use of the spare controller – the last digit of the MAC address of each SSID (i.e. the BSSID) is determined based on the order it was added to the AP group on the WLC (the order the SSIDs were created in the case of the default AP group). If you don’t correctly configure all the WLCs AP groups with the SSIDs in the same order as each other, you will find the last digit on the SSIDs will change when you move APs to the spare WLC. This is not a problem with most applications – but will affect RTLS applications such as Ekahau that rely on the MAC address of the AP. |
Liability Disclaimer
We supply the tools on this website free of charge for the wireless community use. Note with all our tools the liability disclaimer – we do our best to make these tools as useful as we can, but accept no liability for their use or misuse:
https://www.iptel.com.au/terms-and-conditions-for-usage-of-provided-tools.html



Reader Comments