OmniPeek Remote Assistant (Cisco TAC)
 Monday, October 24, 2011 at 7:37PM
 Arron Leonard from Cisco TAC released a great post about ORA on CSC.
OmniPeek Remote Assistant
Omnipeek Remote Assistant (ORA)
Cisco TAC can provide the Omnipeek Remote Assistant application to assist in performing wireless packet captures. The tool will capture wireless packets and encrypt them for processing by the TAC. A full version of Omnipeek Enterprise is required to decrypt and analyze the capture files.
Installation
You should receive a ZIP file from TAC – such as “ora131Cisco.zip” (the filename may change with different release versions). Open this file and Navigate to the “OmniPeek Remote Assistant” folder – run the installer “ora131.exe” and follow the installation instructions.
Supported Wireless Adapters and Drivers
Capturing Wireless Packets with ORA requires the use of supported Wireless Network Adapters along with the appropriate driver version. To view a complete list of supported adapters and drivers, please see:
http://www.wildpackets.com/support/downloads/drivers
In most cases, the Ralink USB adapters will be the easiest to install - and, because you can install multiple USB adapters on a single laptop - they are the best way to get a multichannel capture. The following Ralink adapters have been tested by Cisco TAC:
Linksys WUSB600N (V1 and V2), Linksys AE1000,ALFA AWUS051NH
Driver Installation for Linksys USB600N with Windows XP
2. Insert the Linksys USB600N adapter.
a. If this is the first time using the adapter on the workstation, Windows will start the New Hardware Wizard. Do not search for a driver automatically and click Next. Skip to step 3.
b. If you have previously installed the Linksys USB600N on your workstation, you will need to change the driver to the Omnipeek version. Go to Start > Control Panel > Network Connections and Right Click on the Linksys adapter and click Properties. In this example, the interface is “Wireless Network Connection 3”.
Under the General Tab, Click the “Configure…” button, and then click on the Driver Tab > Update Driver. This will prompt the Hardware Update Wizard.
3. Select “Install from a list or specific location (Advanced)” and click Next. Select “Search for the best driver in these locations.”, include the location of your extracted driver files and click Next: 4. Windows will now search and install the Omnipeek driver. If you receive the following warning message, click “Continue Anyway”. 5. The driver installation should complete and the adapter is now ready for capturing packets with ORA.
Running Omnipeek Remote Assistant
If the correct driver isn’t loaded, ORA may appear to work, but not provide the option to select the desired channel to monitor. The Channel cell will read ‘Ethernet’ or ‘Wireless’ and not offer the option to select a channel:
Capture Settings
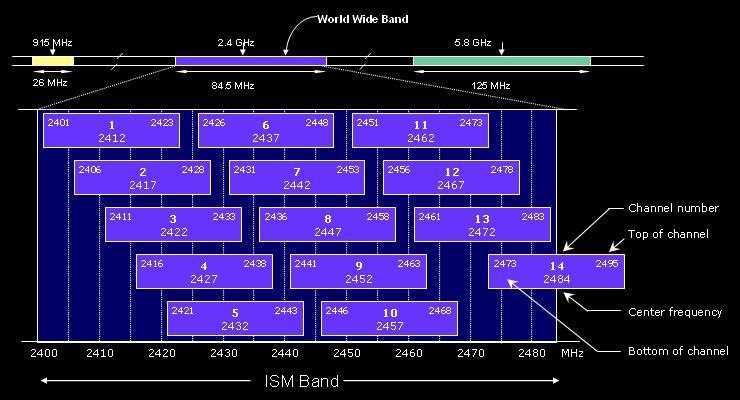
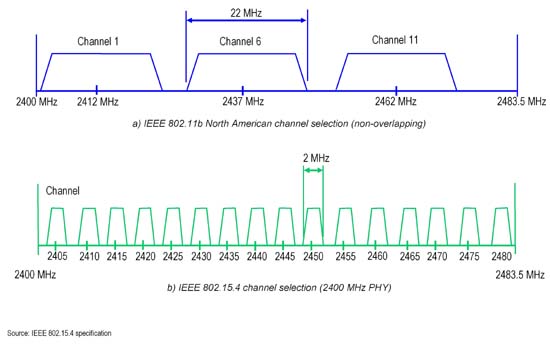
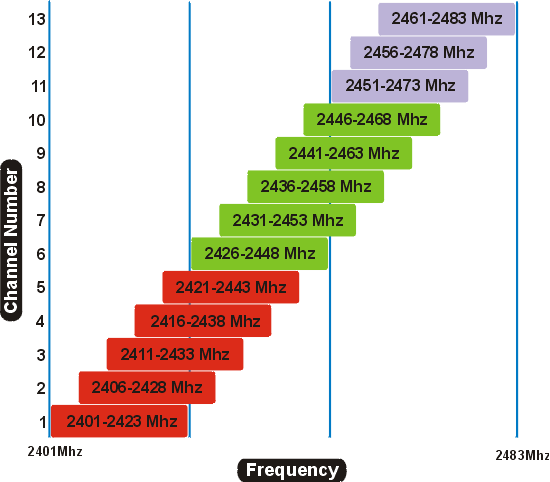
Select the desired adapter(s) to perform the capture and indicate the desired channel. If you have multiple supported adapters installed you can capture on multiple channels simultaneously (but you cannot mix wired and wireless interfaces at the same time). You can select either an 802.11b/g channel or 802.11a channel in the dropdown. You can select 40 MHz 802.11n channels using the (n40l) or (n40h) options. The n40l will be the selected channel and adjacent lower channel, while n40h will be the selected channel and adjacent higher channel.
File Properties
Select the folder you would like to store the capture files in. You can then also specify the file rollover size. Each new filename will include a timestamp so data will not be overwritten.
Capture Control
If you have selected correct adapter/channel settings, you will now be able to click the Start/Stop buttons at the bottom. You will not be able to see the packets, but you will see the counters incrementing. Click Stop when finished.
Uploading the files to TAC
If the capture file(s) are too large for email, you can upload them to your TAC Service Request:
https://tools.cisco.com/ServiceRequestTool/query/
Enter your SR Number, and then click on File Upload.





Reader Comments